Home
Artwork
Show All
Wargaming & Miniatures
Projects
Home
Artwork
Show All
Wargaming & Miniatures
Projects
Blog
SLA Industries: Digger
6 February 2021
Wargaming & Miniatures
3786 Views
Leave a comment
Leave review
Read More
Prison Hut
4 April 2020
Wargaming & Miniatures
4055 Views
Leave a comment
Leave review
Read More
Blacksmith Forge
1 April 2020
Wargaming & Miniatures
4583 Views
Leave a comment
Leave review
Read More
Horror Miniatures
6 February 2020
Wargaming & Miniatures
5744 Views
Leave a comment
Leave review
Read More
Warcry - The Unmade
31 December 2019
Wargaming & Miniatures
6029 Views
Leave a comment
Leave review
Read More
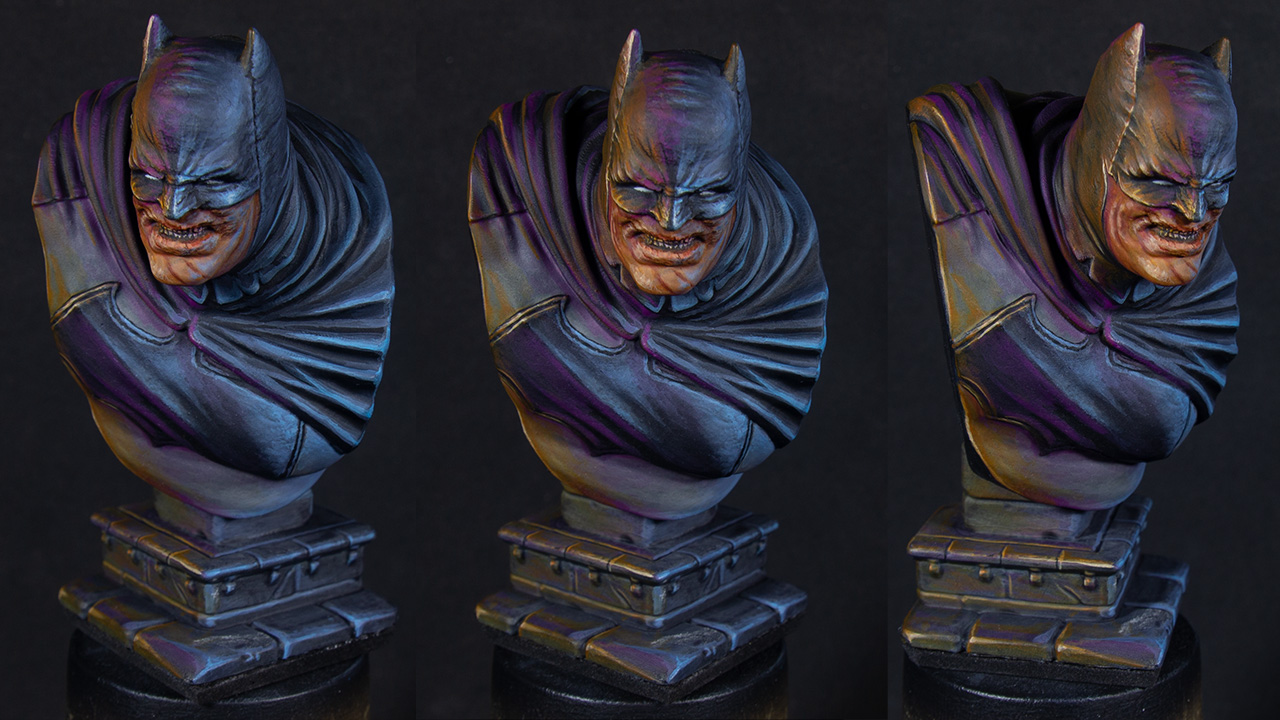
Batman Dark Knight Bust
23 December 2019
Wargaming & Miniatures
6995 Views
Leave a comment
Leave review
Read More
Necromunda: Deathworld Forest
22 December 2019
Wargaming & Miniatures
4406 Views
Leave a comment
Leave review
Read More
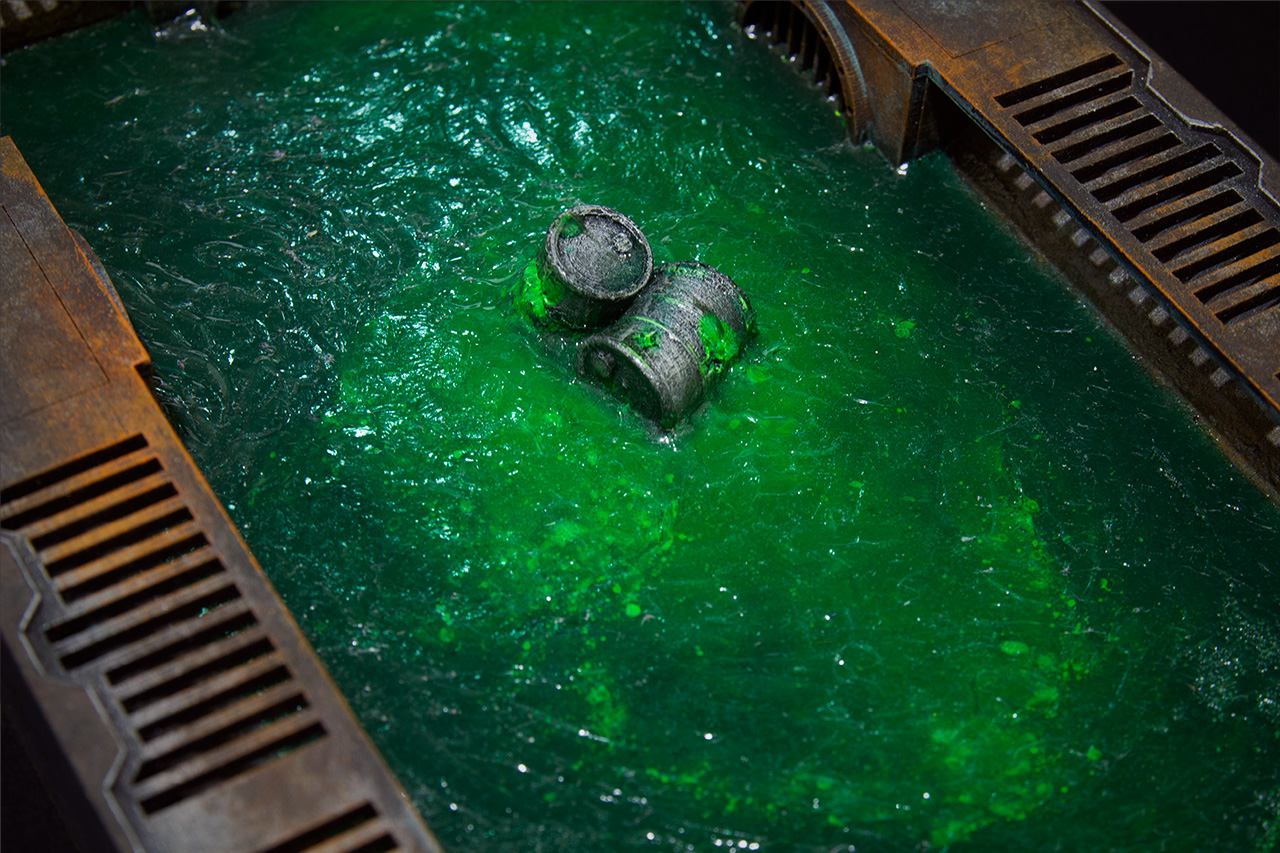
Necromunda: Sewage Channels
20 December 2019
Wargaming & Miniatures
4731 Views
Leave a comment
Leave review
Read More
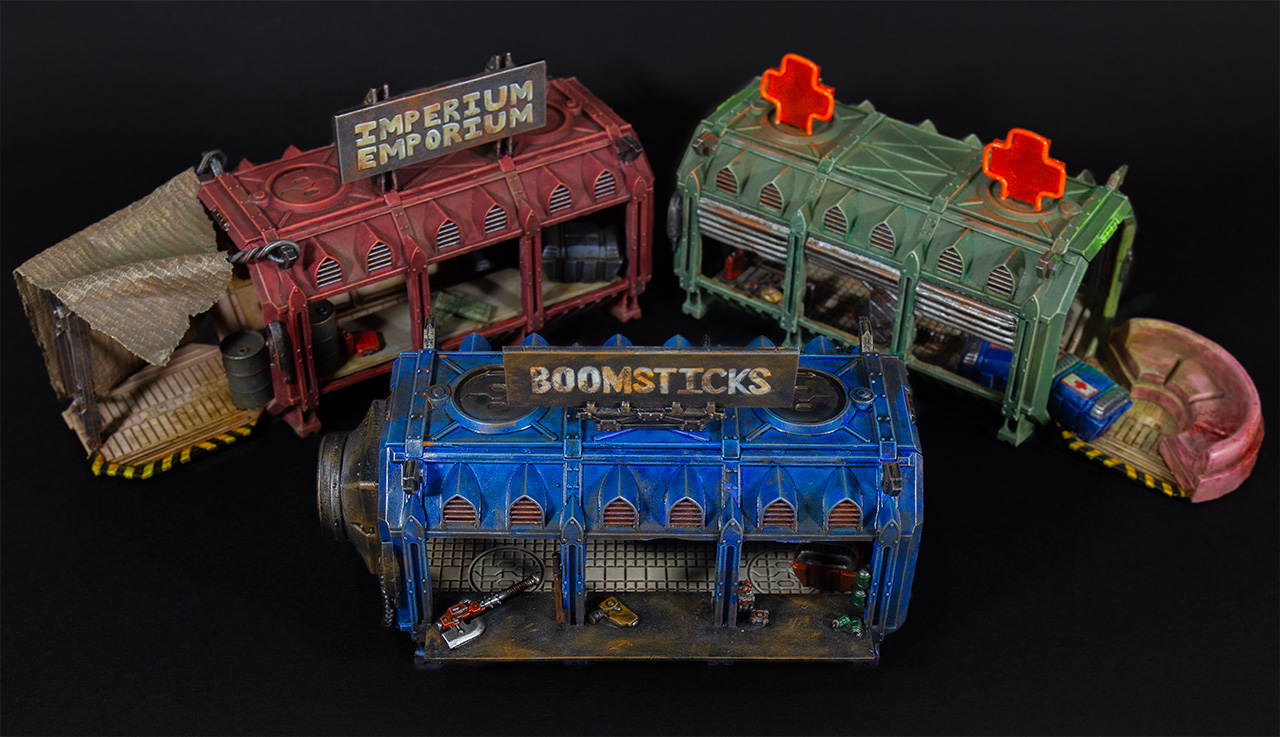
Necromunda: Tech Bazaar
17 December 2019
Wargaming & Miniatures
6327 Views
Leave a comment
Leave review
Read More
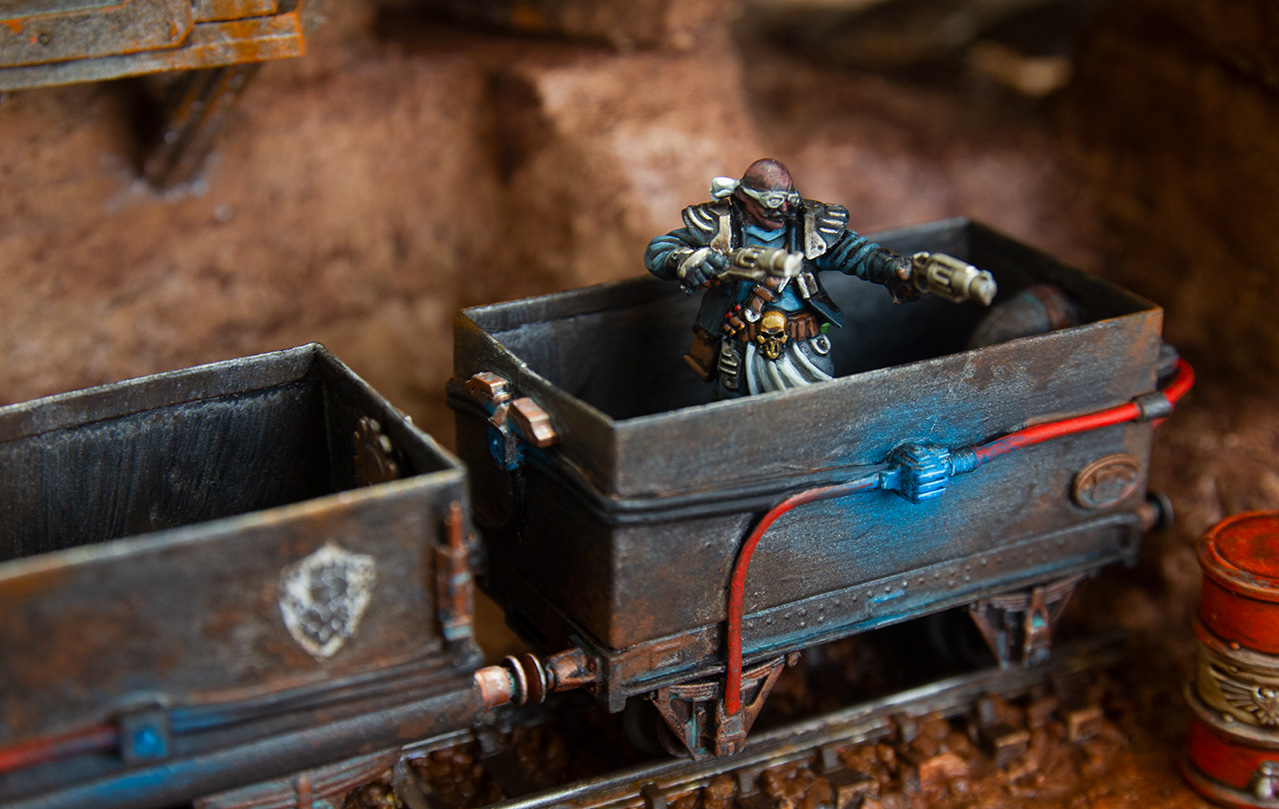
Necromunda: Mining Carts
15 December 2019
Wargaming & Miniatures
4633 Views
Leave a comment
Leave review
Read More
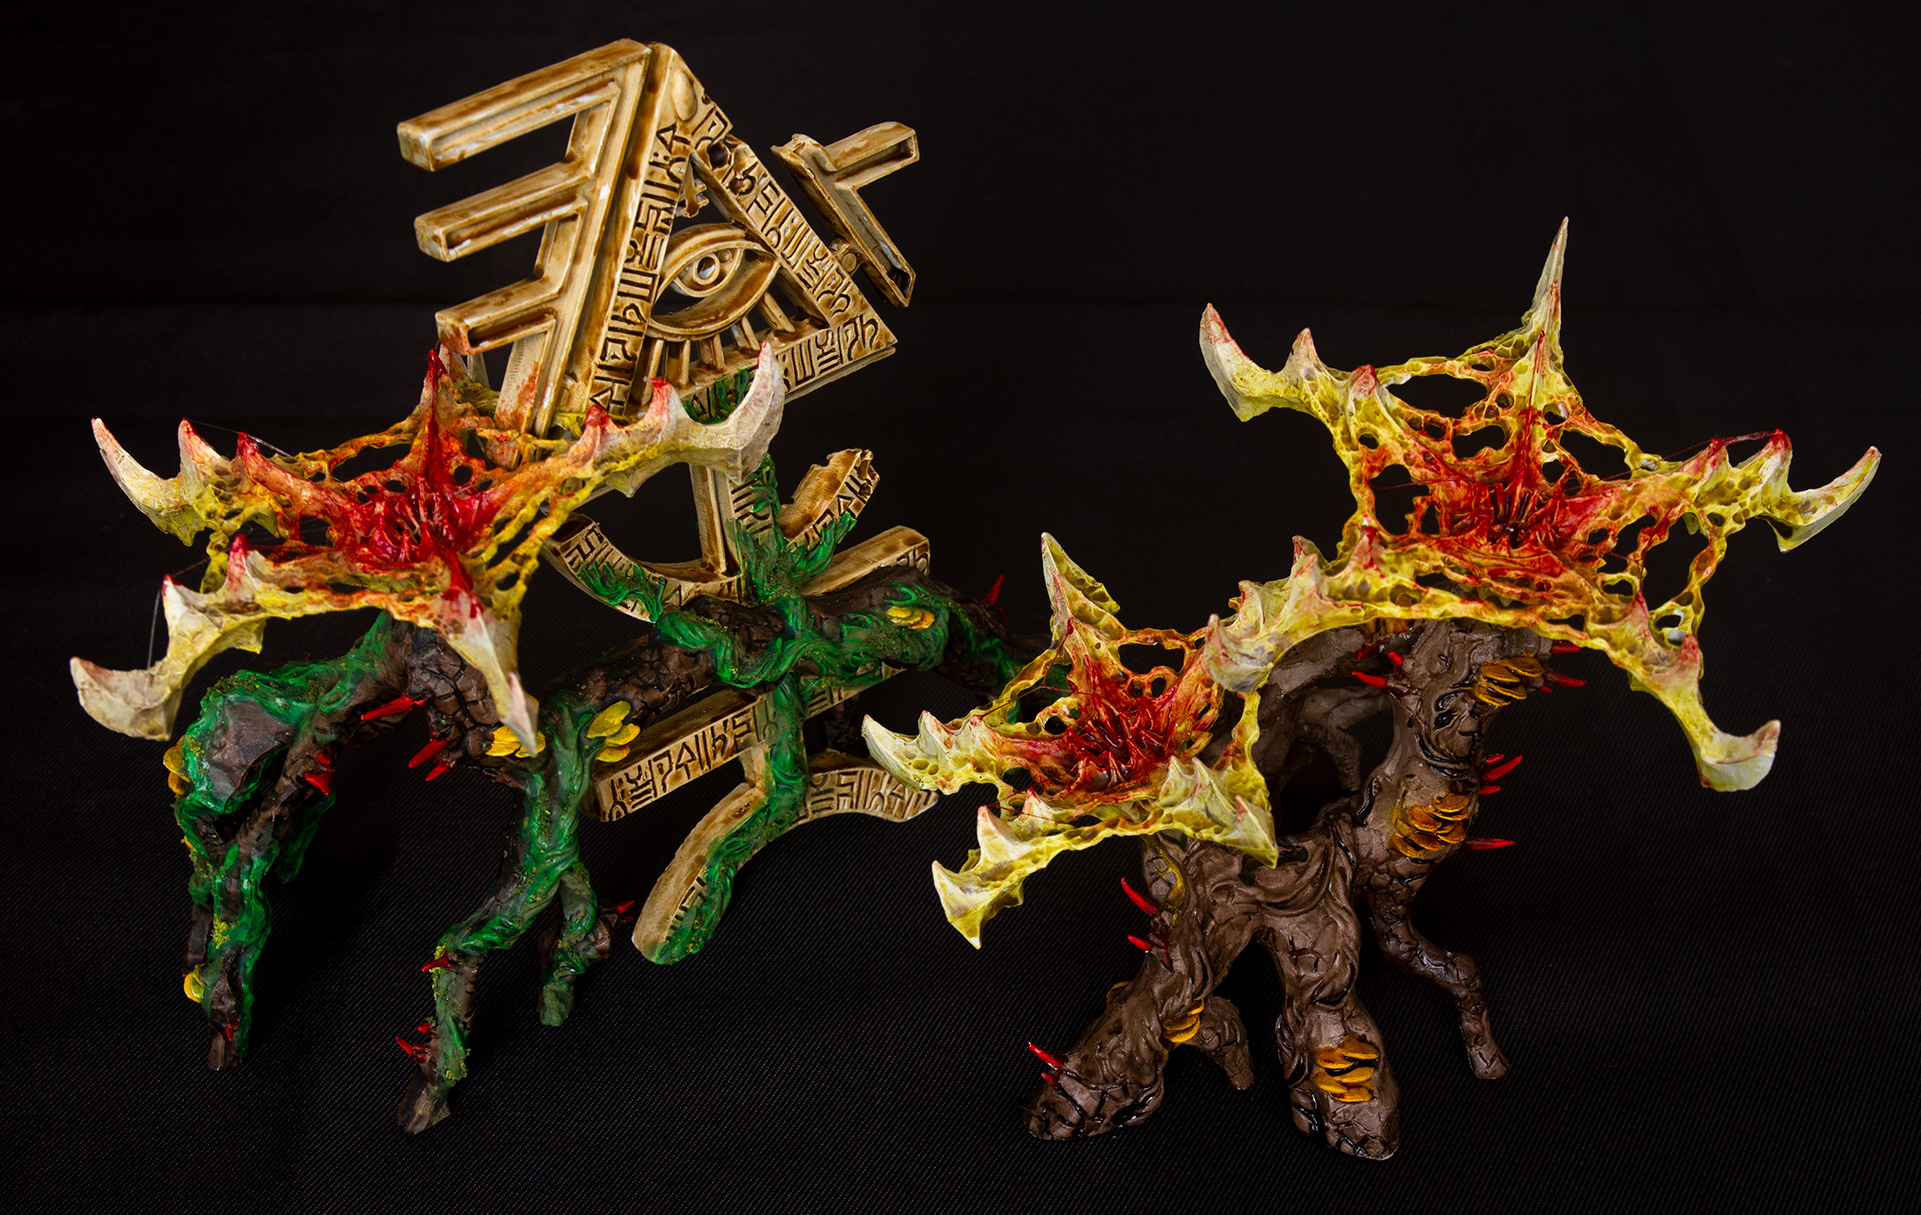
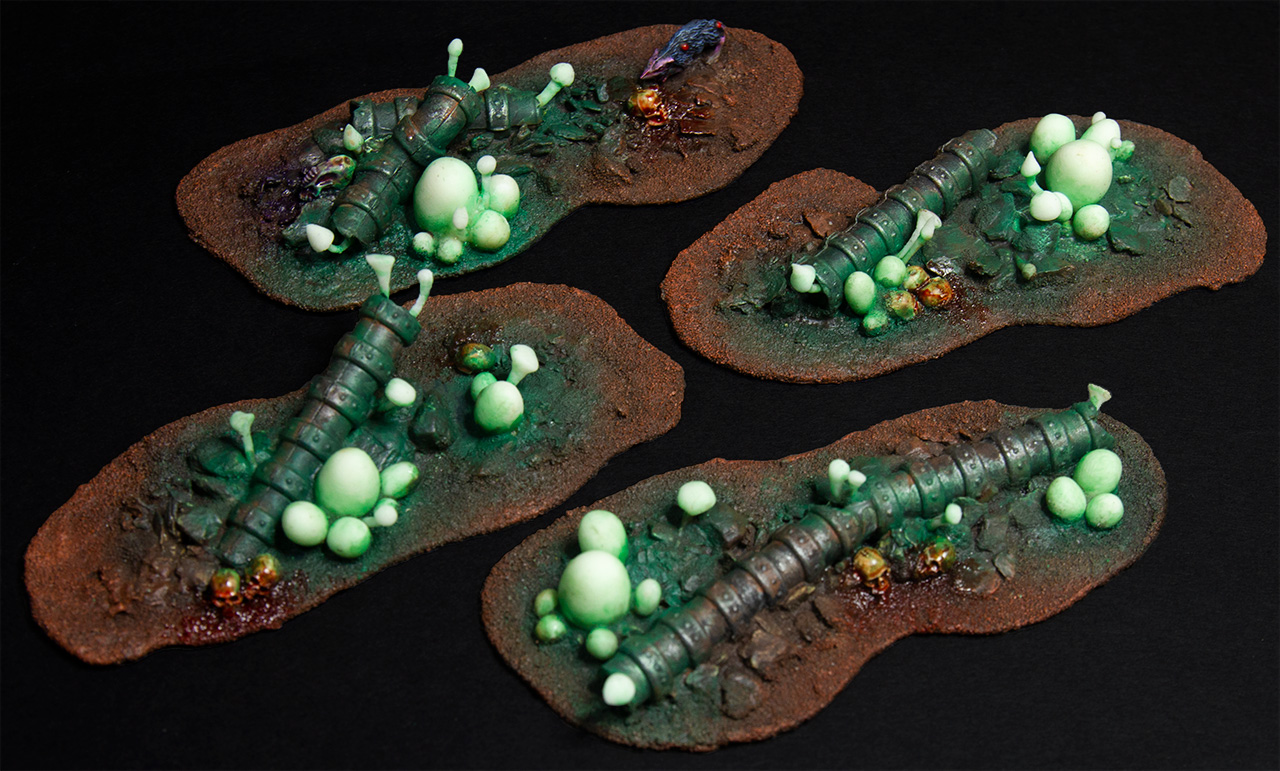
Necromunda: Ghast/Spook Deposits
14 December 2019
Wargaming & Miniatures
5513 Views
Leave a comment
Leave review
Read More
Blood Bowl Team: Nurgle
15 September 2019
Wargaming & Miniatures
9257 Views
Leave a comment
Leave review
Read More
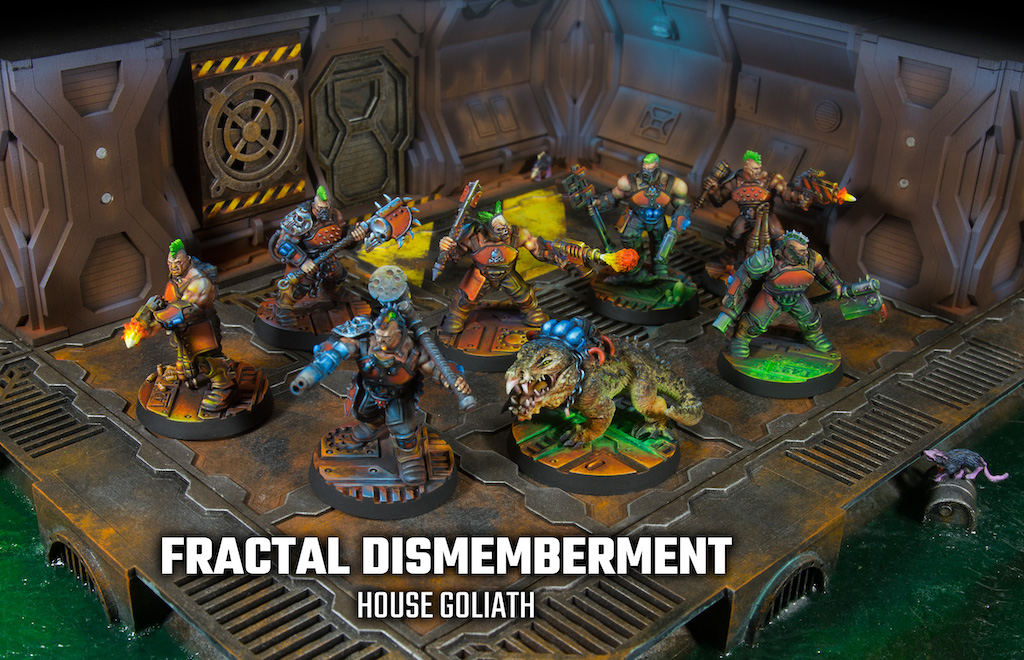
Necromunda Gang: House Goliath
6 July 2019
Wargaming & Miniatures
8033 Views
Leave a comment
Leave review
Read More
Judge Dredd Portrait
1 June 2017
Artwork
5534 Views
Leave a comment
Leave review
Read More
Major Motoko Kusanagi Portrait
1 May 2017
Artwork
4860 Views
Leave a comment
Leave review
Read More
1
2
3